Contouring has become one of the most sought-after makeup techniques in recent years, but it's actually been a fundamental skill in a visagiste's arsenal for decades. When done correctly, contouring can enhance your natural bone structure, create dimension, and even reshape facial features. In this comprehensive guide, we'll explore the artistry behind facial contouring and how to master it for your specific face shape.
Understanding the Fundamentals of Contouring
At its core, contouring is about creating shadows and highlights to sculpt the face. The basic principle relies on a simple rule of light and shadow: darker shades recede, while lighter shades bring features forward. Professional visagistes understand that successful contouring begins with identifying your unique face shape and bone structure.
Before diving into techniques, it's essential to gather the right tools:
- Contour product (powder, cream, or stick) in a shade 1-2 tones deeper than your skin tone with the right undertone
- Highlighter (powder, cream, or liquid) in a shade that complements your skin tone
- Blending brushes: angled contour brush, fluffy blending brush, and fan brush
- Setting powder or spray to lock everything in place
Contouring Techniques for Different Face Shapes
Oval Face
Considered the "ideal" face shape in classical art, oval faces have balanced proportions. For this shape, light contouring along the temples, jawline, and slightly under the cheekbones is sufficient to enhance natural features without overdefining them.
Round Face
To add definition to round faces, focus contouring on the sides of the forehead, directly under the cheekbones, and along the jawline. This creates the illusion of more pronounced angles and a slimmer appearance.
Heart-Shaped Face
Heart-shaped faces typically have a wider forehead and narrower chin. Apply contour along the temples and sides of the forehead to visually narrow it, and add dimension to the hollow of the cheeks. Avoid heavy contouring on the chin area.
Square Face
Square faces have strong, angular jawlines. Soften these angles by contouring the corners of the forehead and jawline. Adding contour beneath the cheekbones creates a lifting effect that balances the strong horizontal lines of this face shape.
Diamond Face
Diamond faces have narrow foreheads and chins with wider cheekbones. Apply contour directly on the cheekbones to soften their width, and add subtle contour to the chin to create balance.
Advanced Contouring Techniques
Nose Contouring
One of the most transformative contouring techniques focuses on the nose. To create the illusion of a narrower nose, apply thin lines of contour along both sides of the bridge. For a shorter appearance, add a touch of contour at the tip. Highlight the center of the bridge to add dimension.
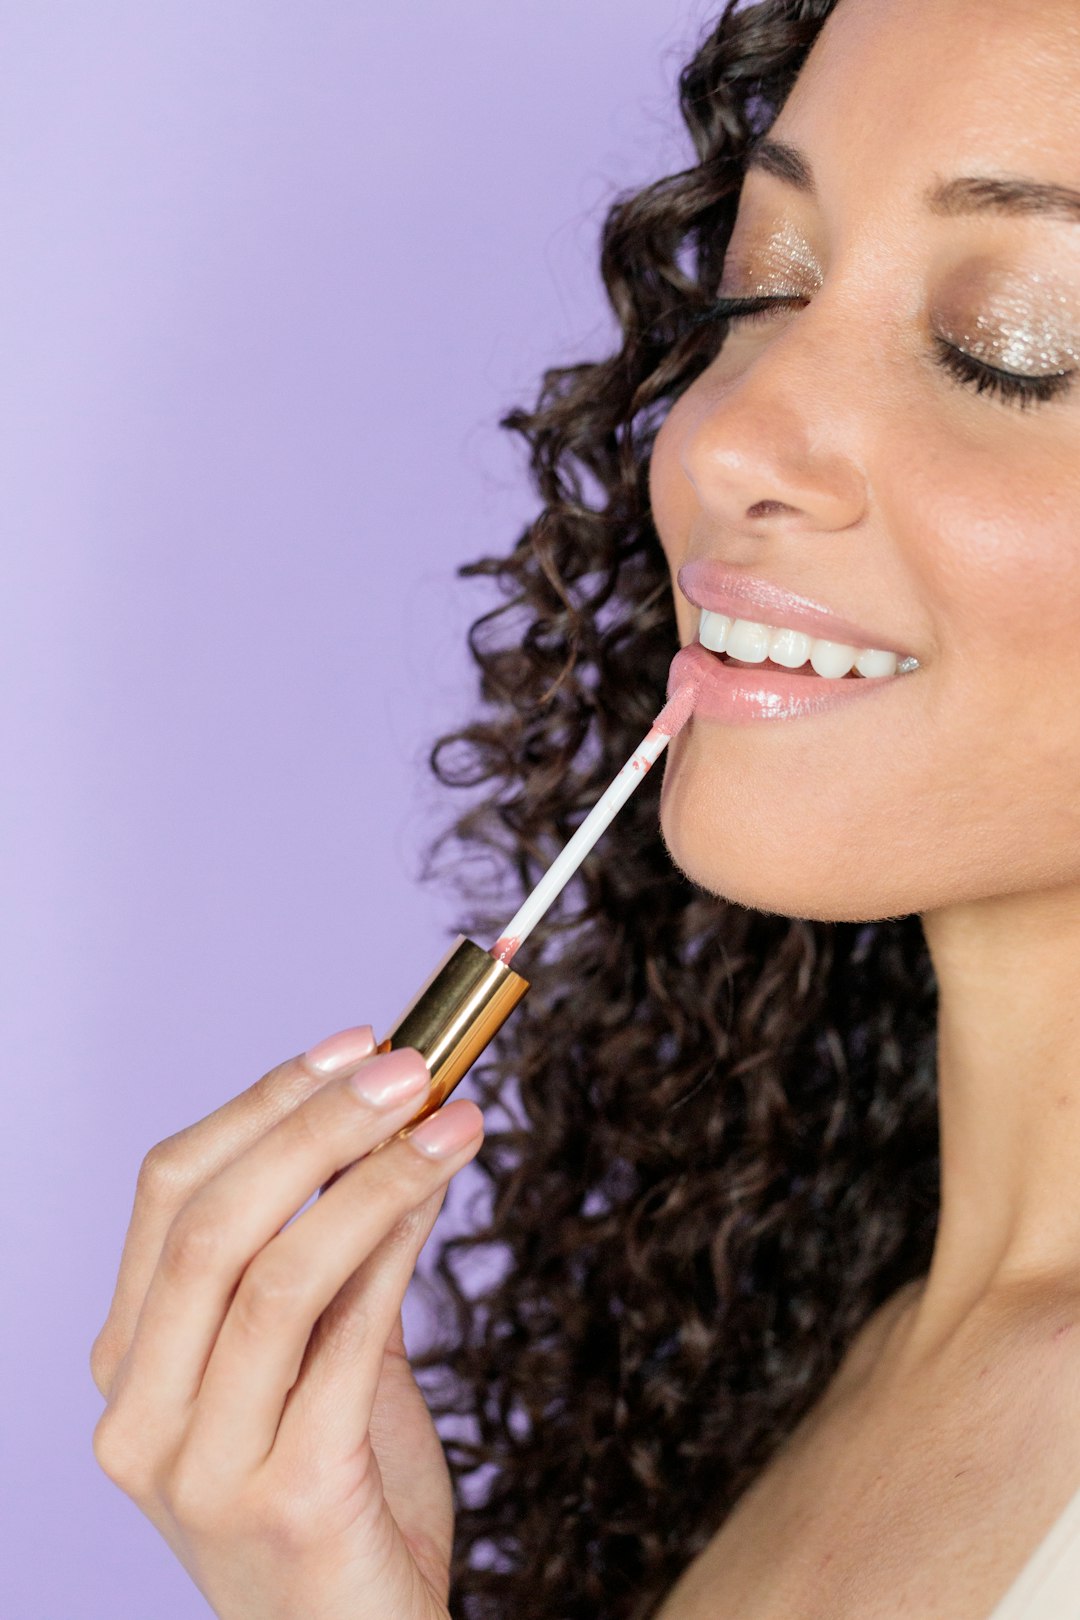
Lip Contouring
Enhance your lip shape by applying a small amount of contour just below the center of your bottom lip and a touch of highlighter on your cupid's bow. This creates the illusion of fuller lips without overdrawn lip liner.
Eye Contouring
Define your eye socket by applying contour in the crease and outer corner of the eye. This technique can make eyes appear larger and more defined. Highlighting the brow bone and inner corner brightens the entire eye area.
Common Contouring Mistakes to Avoid
- Using the wrong shade: Contour should mimic natural shadows, not create harsh lines. Choose a cool or neutral-toned product rather than warm bronzers for true contouring.
- Insufficient blending: The number one rule of contouring is to blend, blend, blend. Hard lines defeat the purpose of creating subtle dimension.
- Over-contouring: Less is more, especially for everyday looks. Build up gradually rather than applying too much product at once.
- Ignoring face shape: Applying the same contouring technique to every face shape won't yield optimal results. Study your unique features and adapt accordingly.
Professional Visagiste Tips
After years of working with diverse clients, here are some insider tips that make a significant difference:
- Apply contour after foundation but before setting powder for cream products, or after setting powder for powder products.
- Use a lighter hand for daytime looks and intensify for evening or photography.
- Consider lighting conditions—contouring that looks perfect in soft lighting may appear harsh in direct sunlight.
- For a natural finish, use cream contour products for dry to normal skin and powder for combination to oily skin.
- Step back from the mirror periodically to assess the overall effect rather than focusing too closely on one area.
Product Recommendations
While technique is paramount, having the right products makes contouring significantly easier. Here are some professional-quality options:
For Beginners
- Fenty Beauty Match Stix Matte Skinstick – offers an easy-to-apply cream formula with excellent blendability
- NYX Professional Makeup Wonder Stick – dual-ended contour and highlight stick at an accessible price point
For Professionals
- Kevyn Aucoin The Sculpting Powder – considered the gold standard for contouring by many makeup artists
- Charlotte Tilbury Hollywood Contour Wand – liquid formula that blends seamlessly for a natural shadow effect
Conclusion
Mastering the art of facial contouring takes practice and patience, but the transformative results are well worth the effort. Remember that the goal is to enhance your natural features, not to completely reshape your face. The best contouring is subtle enough that people notice you look great without being able to pinpoint exactly why.
Start with lighter application and gradually build your skills and confidence. Soon, you'll be creating perfectly sculpted looks tailored to your unique face shape and features—just like a professional visagiste.